< Chassis Painting >
Before I proceed to the next step, I finished painting of the chassis and
the smokebox. On this occasion, I completed some works I had left to do.
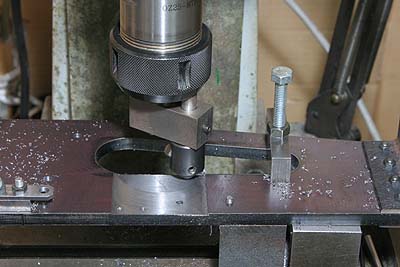
As I reported before, the firebox total width was too large to go into
the chassis. So I cut a part of chassis' inner face. I removed 1mm in thickness
with a fly-cutter.
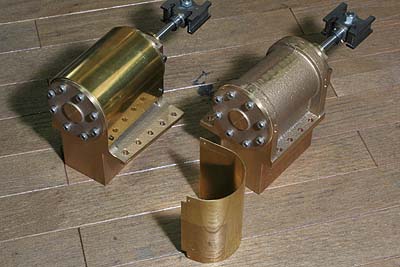
I made cylinder jackets from 1 mm brass sheet. They were cut, bended and screwed down to the cylinder blocks.
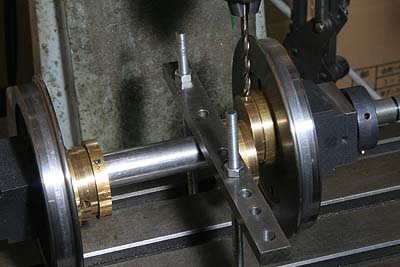
The valve gear eccentrics are permanently fixed with additional set screws which don't push the axle but intrude into the axle.
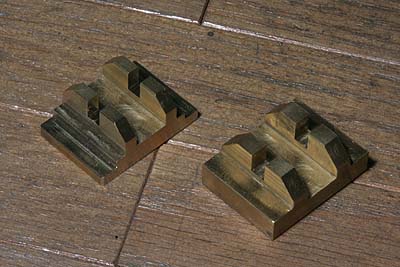
In order to prevent leakage of the slide valves, I made the slide valves' weight lighter. The photo shows before and after the process.
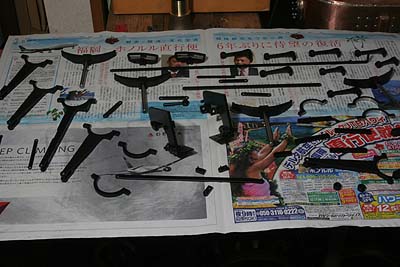
Before painting, all of the screws are locked with Loctite 222.
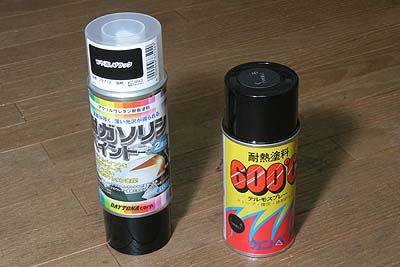
I employed urethane paint that I used for C53. The left-hand one in the picture shows semi-gross black can. It needs mixture of main agent and hardener before using. In the bottom cap, there is a push rod to mix the two kinds of liquid. After the mixture, you must finish the can within 12 hours. It means you should prepare certain amount of painting jobs before mixture. Therefore, I employ silicon paint (right-hand one) for individual use. The silicon paint needs baking after painting.
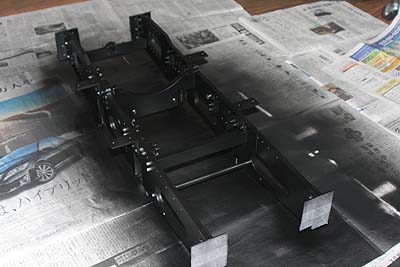
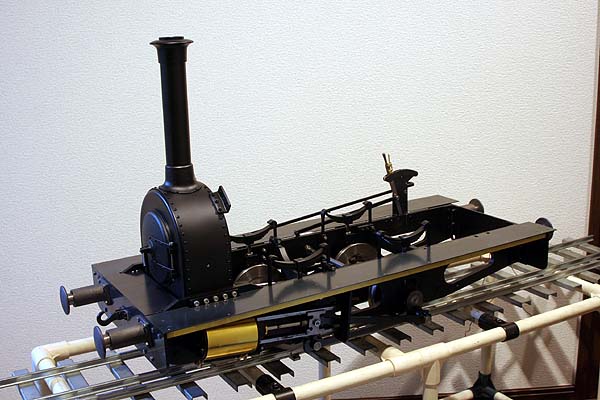
The chassis were assembled except buffer beams, cleaned with acetone and finally painted. Front and back bolting faces and axlebox sliding faces are masked before painting.
The cylinder blocks were also painted without disassembling. The crossheads and the piston rods are masked. At that time I consumed one bottle.
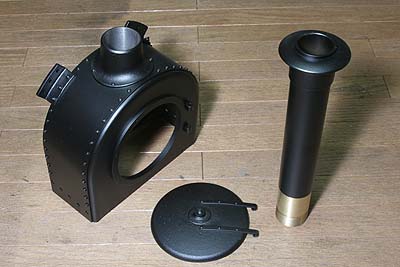
The smokebox body, door and chimney were painted one by one.
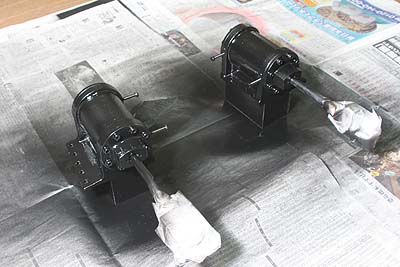
Valve gear parts, etc. were painted. Here the second bottle was consumed. If you spray indoors, you must allow scatter of pigment powder all over the place.
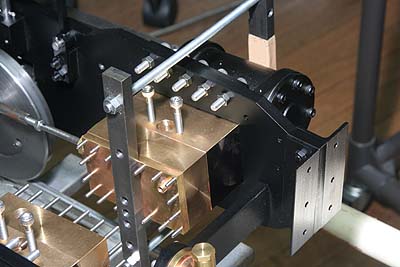
The steam chests and the cylinder blocks are sealed with Loctite 510. Note the steam chest is push against the cylinder block by clamps. Loctite 510 is a sealant but works as a strong adhesive.
All of the components were mounted on the chassis. I did compressed air test again and obtain the same result before painting.
Before painting the boiler, I did hydraulic pressure test just in case.
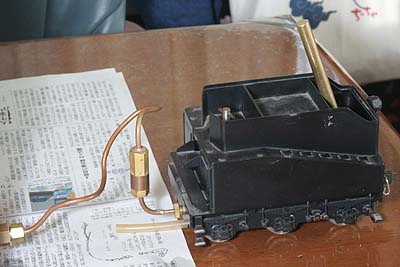
To push water into the boiler, I utilized a hand pump for Gauge 1 loco (Aster hobby's C56 tender).
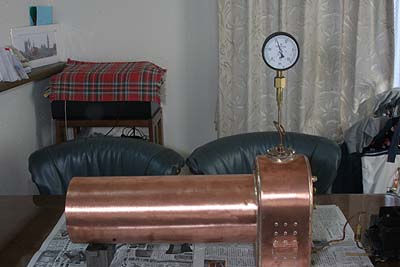
Bushes and flanges of the boiler are closed with plugs and disks which were supplied from the boiler supplier. The boiler was filled with water and sealed. Additional water was feed till the pressure reaches 1.0 MPa (working pressure x 2).
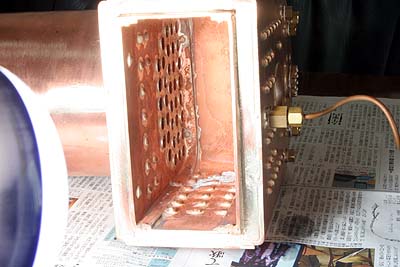
Inside of the firebox was checked. I have an experience of slight leak around a stay in firebox of a boiler. At the time I observed a minute dewdrop was growing slowly at a stay during pressure test. This time I found no leak at all.