< Ashpan & others >
I resume the report in 4 years!
Last year I came back to Japan from Taiwan. And this April I obtained new workshop and resumed the project.
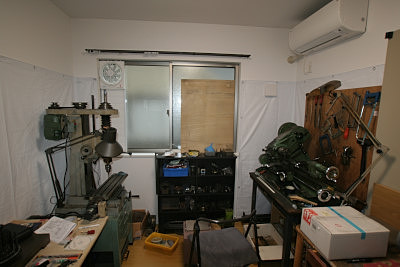
The workshop is a small room in my new home in Kawasaki city. The floor is covered with a wood carpet. The walls are covered with fireproof sheets.
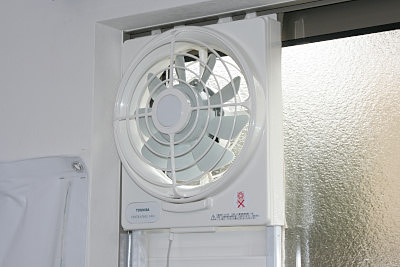
I installed a ventilator in a window. That is to avoid dust and mist in cutting or painting works.
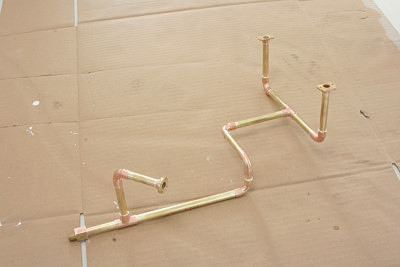
I started from balance pipe for the saddle tank. Saddle tank is just one tank. However, when the water level drops, it acts like two side tanks. So you need a balance pipe that connects both bottoms of the tanks. I designed the pipe combined to a water level gauge in the cab and a drain plug on the rear buffer.
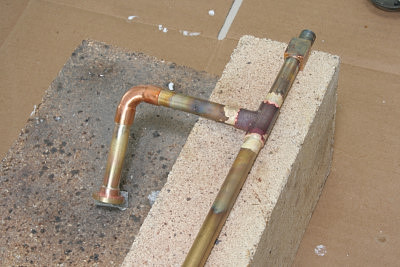
The pipe is silver-soldered from 10 mm dia. brass tubes and copper elbows
and tees.
Right hand side of the photo is front side of the loco.
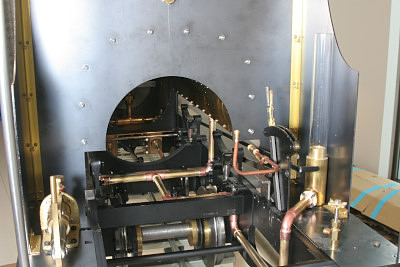
The pipe was temporally installed in the chassis, without the boiler. Note the water level gauge at the cab right side. The gauge is made from an acrylic tube, that indicates water level of the saddle tank.

Hanslet's safety valves are in the cab. Therefore the safety valves have chimneys that let steam out from the cab. I prepared aluminum pipe chimneys. The photo shows cutting holes for chimney in the cab roof. I utilized a hole saw.
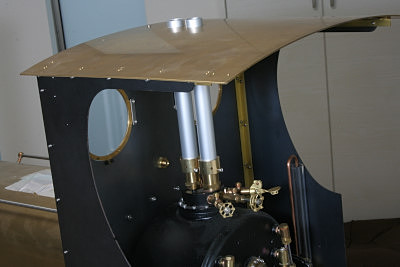
I made brass flanges in order to set the aluminum pipe on the safety valve. The flanges has small side hole for draining.
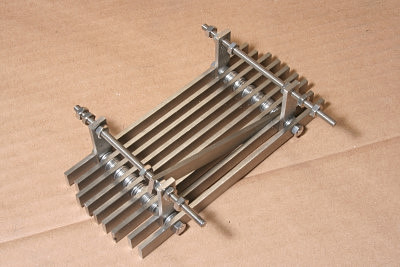
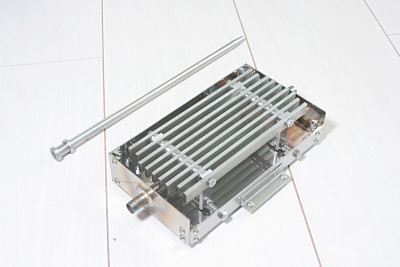
The grate is integrated with the ashpan. The grate is made from 10 x 3 mm stainless steel flat bars, assembled by screws and a lot of washers as spacers. That has held by ashpan with four pillars of the same flat bars. The photo shows state upturned. Note a tilt part that keeps right angle between the grate and the pillar.
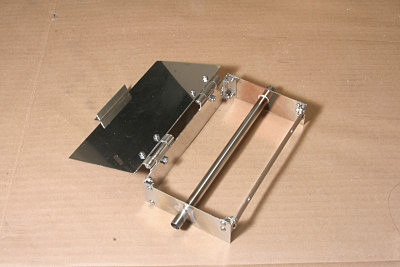
The ashpan is made from 1 mm stainless steel sheet, assembled with angles and screws. The photo shows state upturned, too. The bottom plate is openable with hinges. Note a stainless steel pipe is silver soldered in the ashpan. That is a guide for a crossing pin that hold the ashpan into the chassis.
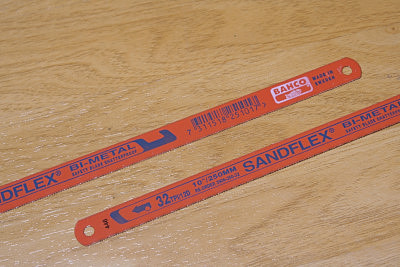
I don't like cutting stainless steel sheet with fret saw, because stainless steel is too hard and easily spoils the blade. I utilized high-speed steel hacksaw with fine blade (32 TPI), and finished with files.
The pin is 8 mm dia. stainless steel round bar with a silver soldered head.
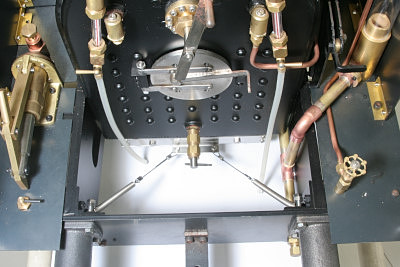
The ashpan is installed under the firebox. Note coil springs and wires pulling the bottom plate to close. If you need to drop the ash, just push and open the bottom plate with a suitable tool.
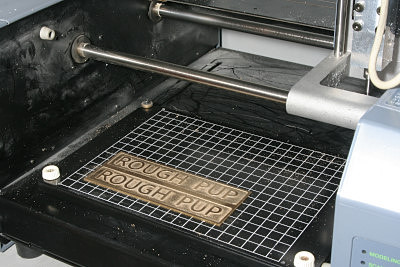
The name plates and the maker's plates are made by Modela from 1 mm brass sheet. The material is annealed in advance with electric furnace (500 degree 30 minute). I employed 1 mm dia. end mill and cut 0.1 mm in depth.
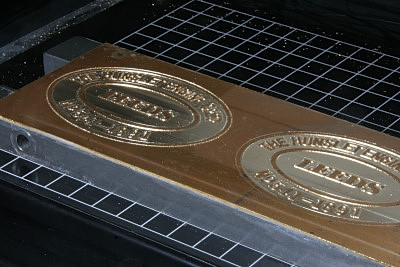
In the case of the maker's plate, 1 mm end mill is still large to cut small characters. So I employed conical cutter with 0.2 mm dia. tip.
All of components for the loco were prepared. Remained works are body painting and assembly.