< Axle Driven Pump >
William's axle driven pump is single type.
A casting of eccentric strap shrunk and didn't
have enough volume to cut. I asked the supplier
to exchange it and they sent me a new one
which but also shrunk.
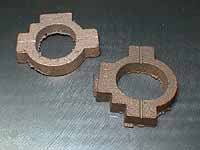
So I decided to make a double type pump with
smaller eccentricity so as to utilize these
shrinking castings.
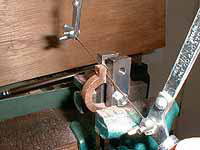
Sawing off the casting. Note a pair of small
bars as a guide to saw straight.
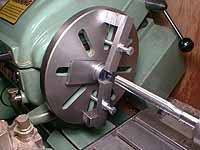
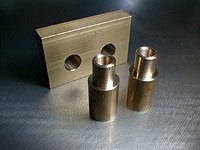
After bolting the pair of straps together,
bore it to the final size using a spigot
as a gauge.
The spigot will also be used as a jig to
hold the straps during surface cleaning.
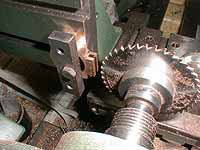
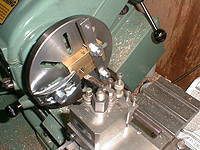
Metal saw cuts a slot in the strap to catch
the eccentric rod.
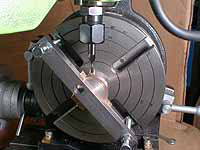
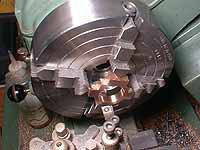
Outer face of the strap is cut on a rotary
table.
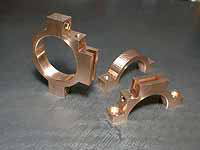
The straps was completely machined.
![]()
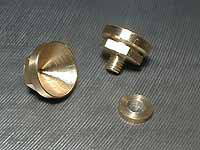
I added funnels to the straps so as to ease
lubrication for the eccentric.
Outer shape of the funnel is round but I
made it of a hexagonal brass bar. Because
hexagonal blank is indexable in a machine
vise.
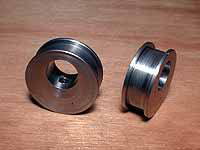
The eccentric is made of bright mild steel
round bar. But if you have iron casting of
similar size, it is better for the eccentric.
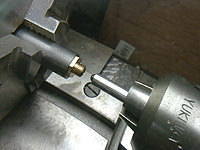
To cut the groove to the exact diameter,
you have to move the parting tool left and
right in every one thou advance.
![]()
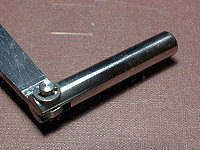
The eccentric rod is made of a bright mild
steel sheet.

The rod is fixed to the eccentric strap with
copper rivets. Although the back half of
the strap is threaded for screws, it is better
to support the screws with nuts so as to
resist hardworking.
Section of the pump.
The ram is sealed with an O-ring in the gland.
As forming delivery valve seat in the body
is difficult and risky, I made it as a small
part and glued it to the body with Loctite
510. (the red part in the section)
The pump body consists of one flat bar and
two round bars of brass. They are machined
individually and silver soldered together.
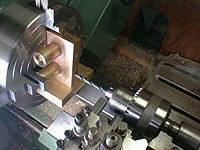
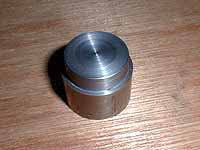
Boring the pump body in the lathe. Note a
bar of brass is used as a balance weight
for turning.
The pump ram was made of free-cutting stainless
steel. The ram and the eccentric rod was
connected with a small pin. To secure the
pin, I used snap-rings which are more reliable
than traditional thread and nut.
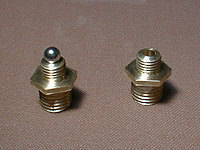
Accuracy of the ball is most important. You
have to get the highest grade of stainless
steel ball for valves.
I burnished the seat in the lathe instead
of seating with a hammer. If you do this,
1 sec slight push is enough. You can use
more accurate chromium steel ball for seating
or burnishing.
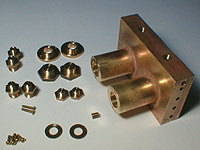
Ready for assembly. Note the five holes in
the side of the pump body. The lower four
holes are for fixing the body to chassis,
while the upper one is very deep enough to
make the two delivery lines merge inside
the body. This trick allows you to connect
the delivery unions directly to both the
boiler and the by-pass valve.
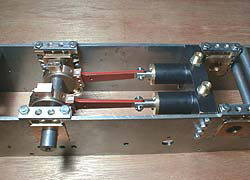
The parts were painted, assembled and fixed
between the frames. The picture shows a view
from underneath of the frames.
| TOP | BACK | NEXT |