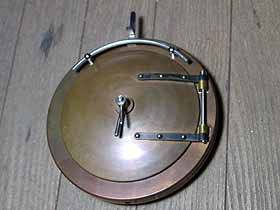
< Loading Boiler >
Before starting platework, we have to decide
how to treat rivets. If you represent them,
you have to obtain tiny one and plant as
numerous as the stars in the sky. Otherwise,
you have to hide all of screws and rivets
that are necessary for construction. Now,
William of my design is rather old-style
loco. So I decided to tackle with rivets.
I chose 3/64" copper rivets for plate
work and 1/16" iron rivets for buffer
beams.
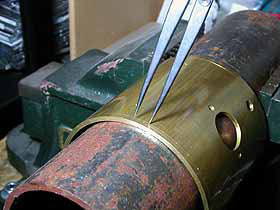
I started riveting with the smokebox. The
photo shows how to scribe position of rivets
with a compass. After that, they were drilled
through and slightly countersunk so as to
clear the fillet of the rivet neck.
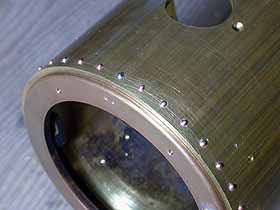
I didn't hammer the rivet but glue into the
hole with heat-resisted adhesive. Note the
top white rivet. It is not a rivet but a
stainless steel screw to fix the smokebox
ring. Tip of the screw is rounded for pretending
to be a rivet.

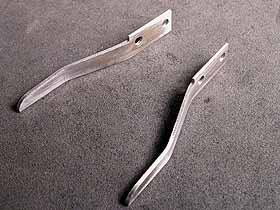
The handrail stanchions and nuts were obtained
from a ME supplier. The stanchions are of
chrome-plated brass.
The handrail is made of 2.5mm stainless steel
wire. Hole in the stanchion was extended.
For each handrail, one stanchion is press
fitting and others are loose fitting. The
photo shows how to press a stanchion into
the wire.
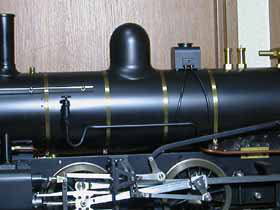
Assembled handrail on both sides of the boiler.
The rail should be truly straight.
Handrail on the smokebox door. Again the
rail should be truly round. You can get it
with cutting true portion from a longer wire
rounded with a suitable steel pipe.
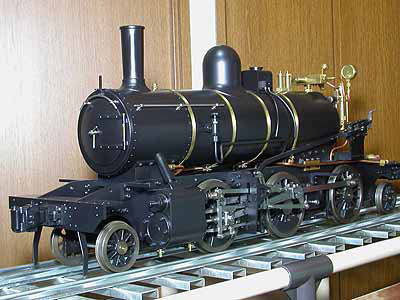
Components around the boiler were painted
and stoved. Chimney, dome and other round
parts were heated from a side.
Cleading and boiler bands were heated around
a steel pipe. The boiler bands were polished
and painted 'clear' so as to maintain brightness
permanently.
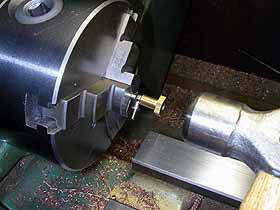
The blast nozzle was aligned with a round
bar, so as to obtain strong blast.
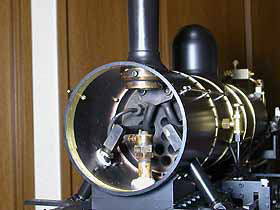
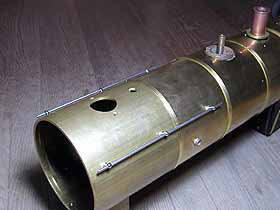
The boiler with lagging and cleading was
mounted and tubing in the smokebox was completed
again with asbestos sealing.
Guard iron is made from steel flat bar. Unnecessarily
fat one will induce damage to the frames.
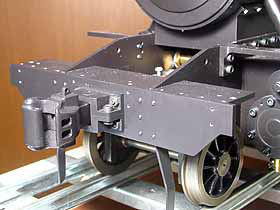
The front buffer beam was painted and bolted
onto the frames. It also has riveting but
with 1/16" steel rivets. Incidentally,
rivets for fixing the buffer beam are of
3 mm dia and completely hidden.
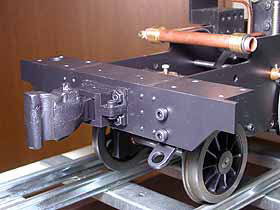
Rear buffer beam has a hook for additional
chain coupler of safety purpose.
The check valve and tube were painted black.
The tubes for sand box was cut to necessary
length and glued into the box with Loctite.
Now is the time for the last patience, platework
!
| TOP | BACK | NEXT |