< Perfection >
White lettering on black body naturally looks
neat. I tried to do it on the side plates
and the air containers with following tools.
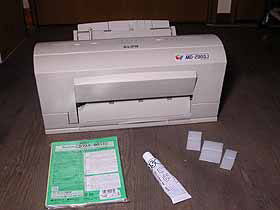
- ALPS MD-2000J: Thermal head printer.
- CD-Master: Master film which can be patterned
by thermal printer (option of "Print
Gocco").
- High Mesh Ink: Pasty ink (option of "Print
Gocco").
- Squeegee: Plastic plate to squeeze ink
through the film (option of "Print Gocco").

I employed MS-WORD to prepare letters. Then
the master film was patterned with the printer.
After that, the film was floated on the side
plate with a cardboard spacer. Pasty ink
was mounted on a side of the film. Then,
with a squeegee, the ink was spread on the
film. As a result, the ink was squeezed onto
the side plate through the film. In case
of failure, the ink should be immediately
wiped out with spirits. Slight residue can
be deleted with a blow of aerosol black paint.
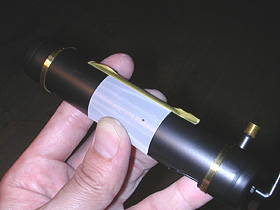
The air container has curved surface, so
the master film cannot be floated. So as
to prevent ink leakage, the film should be
stretched tightly.
After printing, the letters were stoved with
an infrared heater, so as to enforce its
adhesion. Don't stove too hot, otherwise
the letters become yellowish.
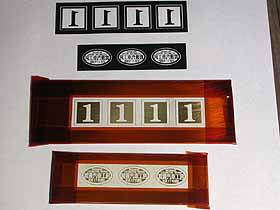
Next I tried to make etching plates from
1.5mm brass sheet. Masking procedure is the
same as the lettering. Surround and back
side of the plate are covered by adhesive
tape. The photo shows block copy on a paper
and a brass sheet ready for etching. Note
the pattern includes cutting lines for sawing.
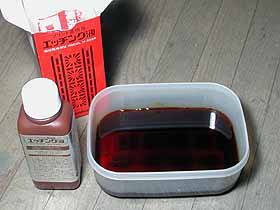
The etchant is for printed circuit board,
or ferric chloride liquid. Etching depth
can be monitored with a small piece of the
same brass sheet with its one side covered
by the adhesive tape. It took 2.5 hours to
etch 0.2mm at room temperature. The liquid
wastes should be neutralized before disposal.
I have to mention that the ink I employed
was not suitable for masking, because it
leaves tiny pin holes after the etching.
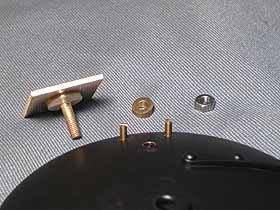
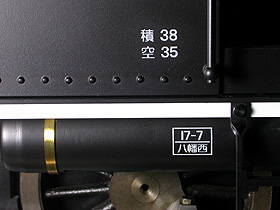
After etching, each plate was sawn out and
finished with files. Then very shallow hole
was end-milled on back side of the plate,
and a screw with thin flange was silver-soldered
in it. The photo shows how to mount a number
plate on the smokebox door. Note additional
two studs which hold the upper two corners
of the number plate.
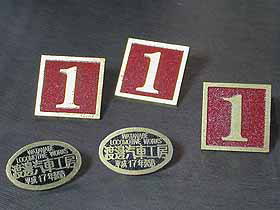
The surface of each plate was painted, red
for the number plate, or black for the company
plate. In case of the smokebox plate, the
back side was also painted black. Then the
surface was polished out with emery cloth
on a surface plate. Finally, whole job was
coated with clear lacquer, so as to prevent
darkish of the brass letters.
Final assembly was done. The side tanks were
bolted down to the running boards through
washers pasted with plumber's joint. All
of screws were
tightened with Loctite 222.
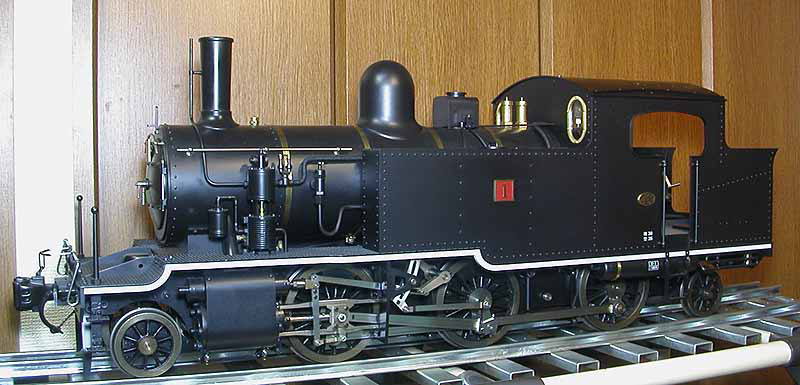
After six years of endeavor, the locomotive
was completed at last!
I will introduce the details in next time.
| TOP | BACK | NEXT |