< Running Boards >
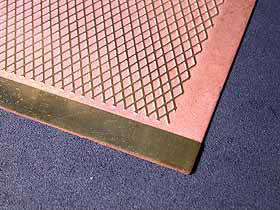
For running board and deck material, I obtained
mesh patterned brass sheets from a club member.
The thickness is 1.5mm. Of course I employed
plain brass sheet for the rear half part
of the running board which is covered with
the side tank.
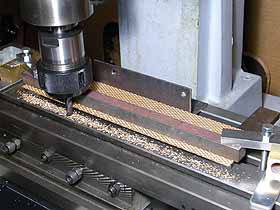
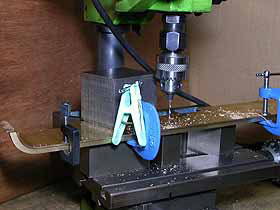
All of the running boards were finished by
endmill. Beforehand a true steel angle was
fixed onto the miller stage parallel to X-axis.
It can lead each materials truly parallel
to the milling stage.
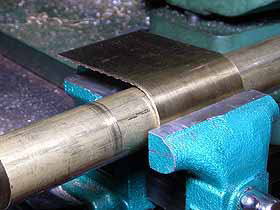
Some of the running boards were bent with
round brass bar. It is better ensure excess
area before bending and cut it off after
bending.
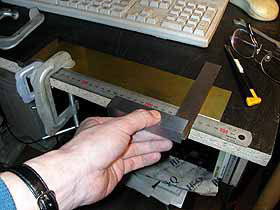
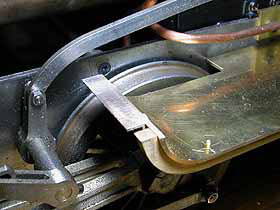
So as to ensure true scribing with a rule
and a square, the material and the rule are
clamped onto a flat table. You can use snap-off
blade cutter as a scriber for brass sheet.

The valance around the running boards was
made from 5*5mm brass square bar. They were
bent by the Metal Bender. Due to hard extension
and compression, the section of rounded part
become trapezoid. So the outer surface should
be trued up with a file.
The valance is fixed under the running board
with brass countersunk screws. They are screwed
from underneath and cut flush at the running
board surface. It makes them almost invisible.
Running boards were connected each other
with a brass angle which was spreaded with
a vise and shaped with a round file to fit
to round surface of the running board.
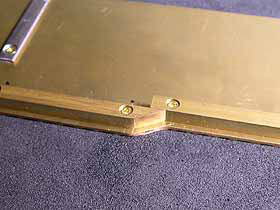
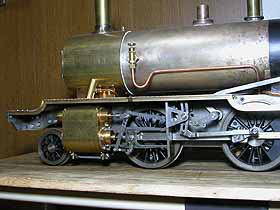
When I modified William from 1/16 scale to
1/12 scale, I extended the running board
width. As a result, the front deck became
too wide and looked unbalanced. Therefore
I reduced the running board width only for
front half part. The photo shows how the
valance was arranged at this point.
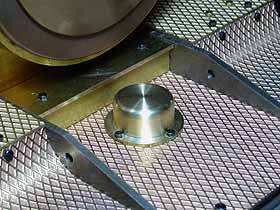
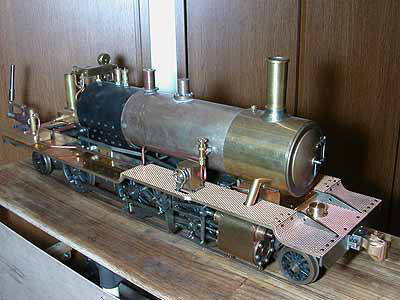
The front deck between the frames is also
made from the patterned sheet. The front
pony truck's spring pin was protruded from
the plate. So I made a dome from a brass
round bar and covered the pin tip with it.
Some Japanese locos have such a design.
The front and rear end of the running board
was fixed onto the buffer beams.
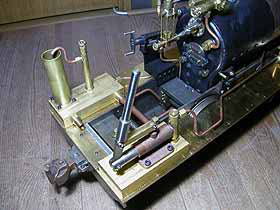
After the running board was completed, the
lubricator was re-mounted onto it. The slit
for the swing arm was cut with a fret saw
and finished with a thin file.
| TOP | BACK | NEXT |