< Boiler Repairs 1 >
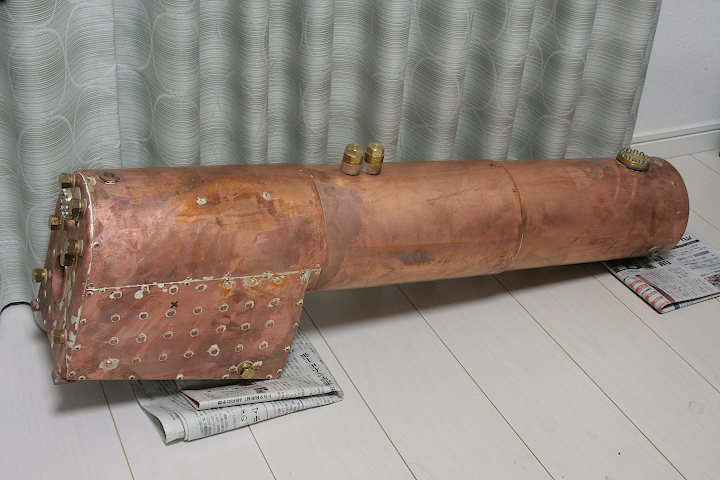
In order to carry out the pressure test, first I prepared brass plugs for the boiler bushes and flanges. From my experience, the pressure tests will have to be done a hundred times. Therefore I prepared plugs with O-rings that can seal the bushes quickly. The photo shows plug parts and an assembled plug. The brass outer ring prevents the O-ring's expansion and fix the O-ring's squeeze margin to 0.4 / 1.9mm.
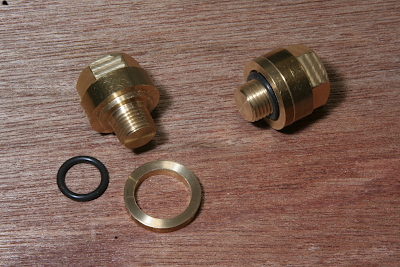
The photo shows all of the prepared plugs. The threads sizes are PF 1/4 for safety valves and turret bushes, M10 x 0.75 for the blowdown bush, and M8 x 0.75 for the others. Some of the plugs have screw holes so as to connect a pressure gauge or a hand pump.
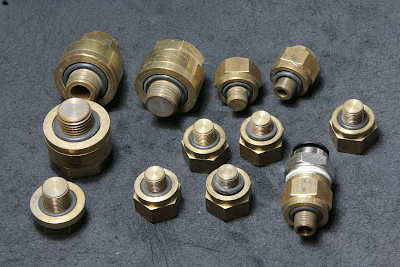
The photo shows discs for the boiler flanges. In decreasing order, they are for the steam dome flange, the regulator flange and the wet header flange. They also utilize O-rings and outer brass rings for quick sealing.
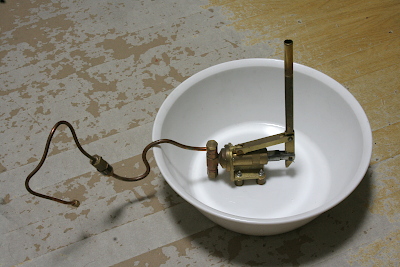
The hand pump is borrowed from Hunslet loco's emergency hand pump, screwed down in a washbowl. A cylindrical part in the middle of the tubes is an O-ring check valve utilized in previous boiler pressure tests.
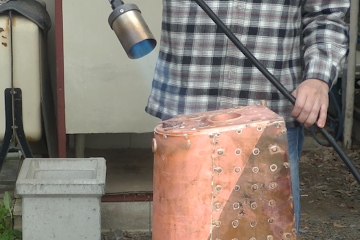
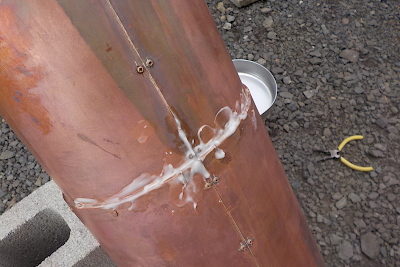
The first pressure test is carried out in the bath room. Screw the plugs into the bushes and put the boiler on the bath upside down so as to check firebox inside. Then feed water from the blowdown bush.
As I expected, I found some leaks even without applying a pressure. All of three long stay's ends in the smokebox tubeplate have leaks. Also a part of front and back barrels' joint, left and right front ends of the foundation ring. Moreover I found faint leaks at the smokebox tubeplate, turret bush, regulator flange, side stays and tubes in the smokebox tubeplate. Regarding the smokebox tubeplate, I didn't have enough time for the final soldering operation for it and I guess it resulted insufficient solder flow.
From here I started repairing operation in a club member's shed. Clean up the defect joints and apply silver solder one by one.
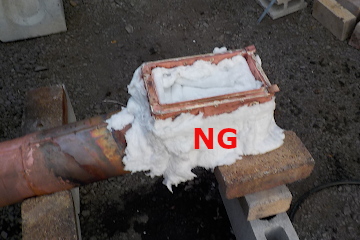
In the case of the foundation ring, first I protected the inner and outer fireboxes by ceramic sheets. However the exposed area is too narrow to receive enough heat to melt the silver solder. Therefore, finally I removed outer boiler's sheets and heated up foundation ring together with the outer firebox.
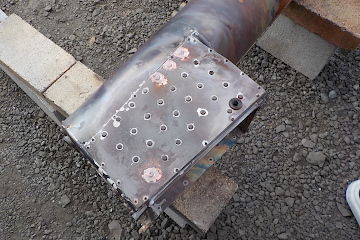
Here the second pressure test was done. Close the bushed with the plugs, stand the boiler backside up and pour water from the backhead. Soon a plenty of water ran out from the joint of the two barrels. I changed the boiler orientation and repeat checking. Then I found leaks at outer ends of some side stays and ceiling of the inner firebox. I was disappointed in the worse result with a new fatal leak in the inner firebox
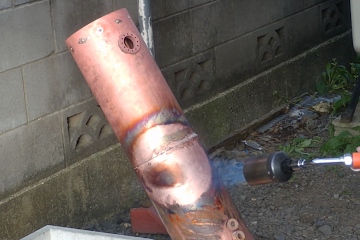
I employed telescopic joint for the two barrels. However it is difficult to control the gap between the barrels. I should have adopted the same diameter barrels with a jointing band. Again, I repaired the joint carefully with a few more of the silver solder.
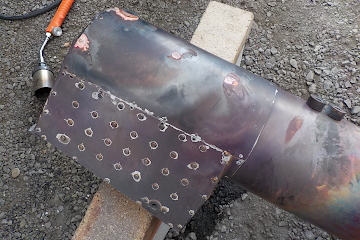
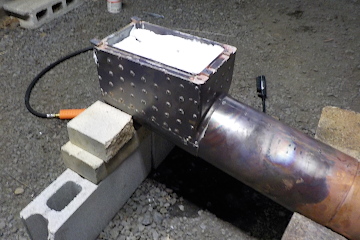
The side stays with leaks are repaired. I used propane gas torch but it isn't enough strong to heat up the outer firebox. It takes ten minutes to finish the soldering.
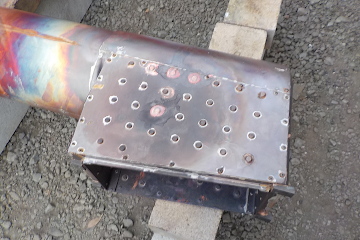
Before repairing the inner firebox, I did the third pressure test. Some side stays still have leaks. Here I found precise leak point of the inner firebox. It is the right shoulder of the forebox backplate. Now the two days of the first repairing time is up.
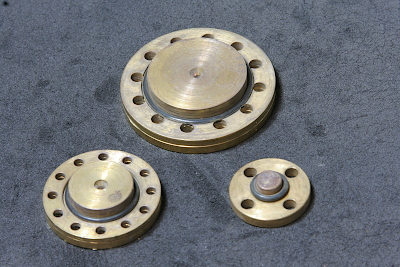
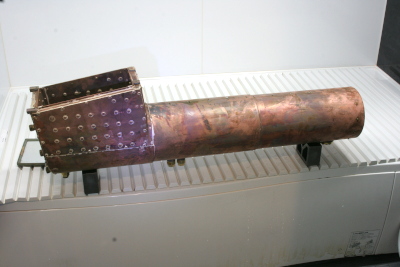
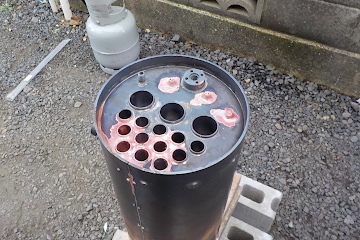
The photo shows the boiler of the current condition. It still has a nice appearance with the minimum silver solder.