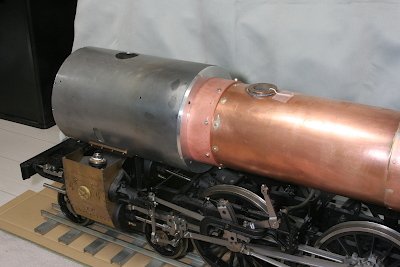
< Temporary Boiler Installation >
As the completed boiler is smaller in its length and diameter than the prototype, it could not be connected directly to the smokebox. So I lengthen the barrel with a copper cylinder and expand its O.D. with an aluminum ring. In case of the prototype, the smokebox is flush with the boiler cleadings, and no rivet or bolt could be seen around the joint. In order to reproduce it, the aluminum ring has a step in its O.D. Thus, the aluminum ring's front half is inserted to the smokebox, while its back half is wrapped up with a flush cleading sheet. And the aluminum ring will be fixed to the smokebox by four bolts hidden through four angles soldered in the smokebox. Some other aluminum rings are mounted on the boiler in suitable distances and the cleadings are wrapped around them. This time I prepared only one aluminum ring at the front so as to mount the boiler temporary on the chassis.
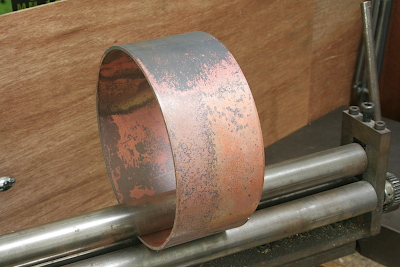
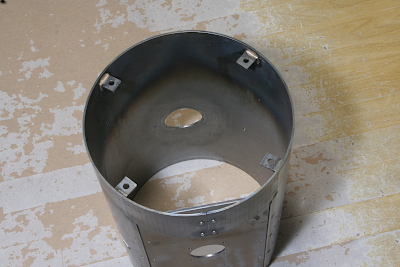
The copper cylinder is made from 3 mm copper sheet. That is annealed and rolled in the same manner as the boiler barrel.
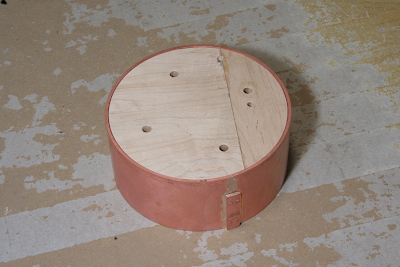
Patch it with a copper band and copper rivets at the bottom outside. In order to correct the cylinder to a true circle, path a hard maple disc through the cylinder. I also the same as the boiler barrel.
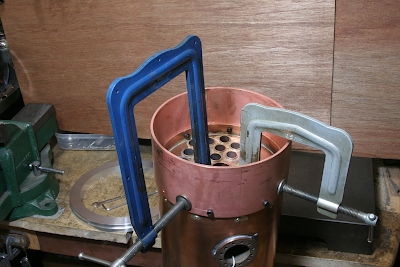
Push the cylinder on the boiler barrel, drill 4 mm holes around the joint and fix them with bolts and nuts. Thus the boiler barrel is extended.
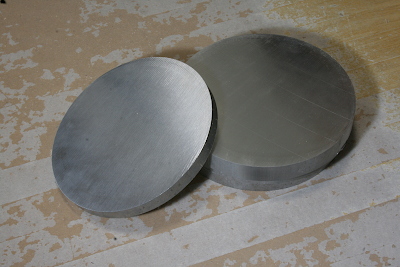
The aluminum ring is made from an aluminum disc sliced from a large round bar. The material is a high strength aluminum alloy called duralumin. Its melting point is more than 550 centigrade, while the expected smokebox temperature is less than 300 centigrade.
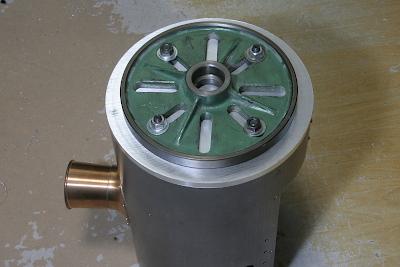
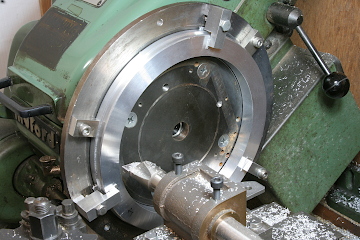
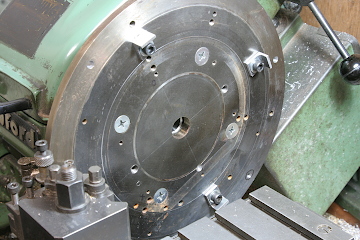
The disc is too large to chuck by the four-jaw, so I bolted it on the face plate. First I turn a part of the outer diameter to fit to the smokebox. The photo shows checking the fitting condition with the face plate.
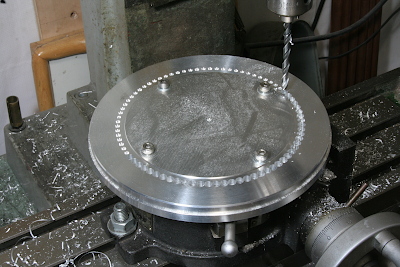
The large core of the disc is cut out by a series of drill holes. The rotary table is utilized to manage drilling positions. This time, after cutting out the core, I found the O.D. of the disc is extended 0.3 mm by a residual stress. So I had to finish O.D. again. I found that the residual stress of aluminum is relatively large.
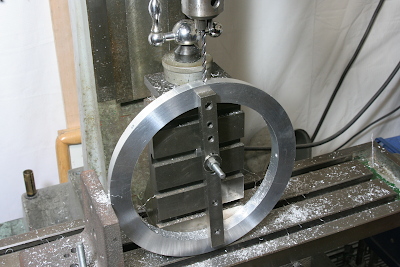
In order to finish I.D. and O.D. of the ring, I reutilized the large disc plate that had been utilized to turn the driving wheels. Also I prepared clamping claws that could clamp the ring both from the inside and from the outside. First, clamp the ring from the outside and finish I.D. with a boring tool. Incidentally, the thickness of the ring was finished in advance with its inner open chucked by outside jaws of the four-jaw.
The copper cylinder is inserted to the aluminum ring and fixed by screws from inside. However I cannot drill the ring from inside, so I drilled holes though from outside. Here I drill prepared small holes through, drill full diameter holes till the half depth, and not tapped yet.
The angles to fix the aluminum ring are made from a steel angle bar. In order to cut round face to fit to the smokebox inside, the angles are bolted onto the large disc and the outer faces is turned to the smokebox I.D.
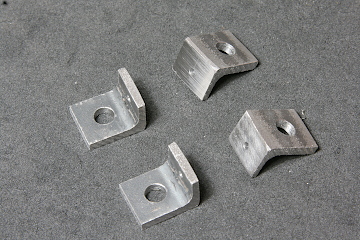
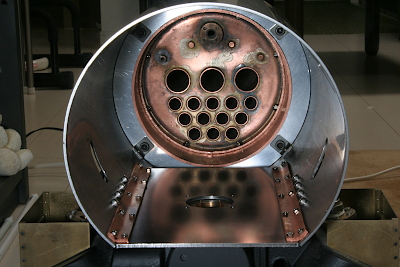
Set the angle in the smokebox with small screws from inside, silver solder them, and file flush the tips of the screws in outside.
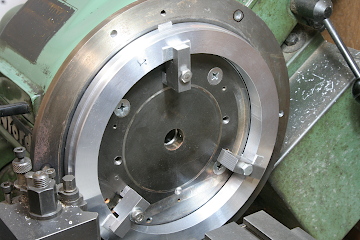
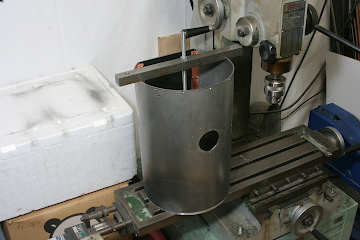
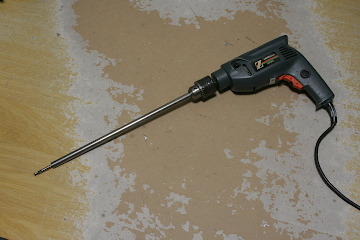
Set the aluminum ring in the smokebox and drill countersunk on the ring through the angles. The milling table is just utilized as an operating stage. The second photo shows extended drill bit so as to reach to the bottom of the smokebox. After that, drill and tap the ring.
Mount the smokebox with the aluminum ring on the cylinder block. Set the boiler with the copper cylinder on the chassis and insert the copper cylinder in the smokebox. Then drill countersunks on the copper cylinder through the aluminum ring. Some holes at the bottom of the ring could not be reached.
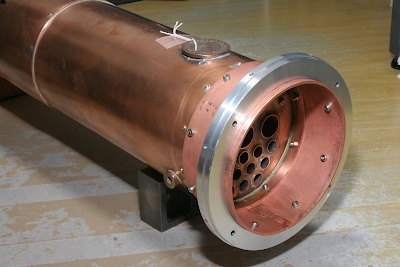
Disassemble, drill through the copper cylinder and fix the aluminum ring on the cylinder with screws and nuts. The holes that could not be reached while ago are drilled through and fixed. And now the aluminum ring becomes a part of the boiler.
Set the boiler again on the chassis and insert the aluminum ring in the smokebox. Confirm the ring could be fixed in the smokebox with the bolts. Incidentally I utilized M6 bolts here.
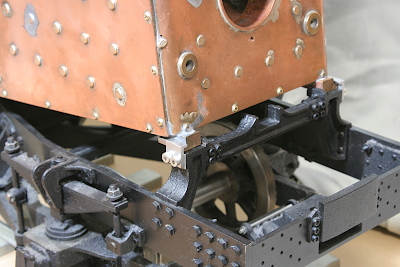
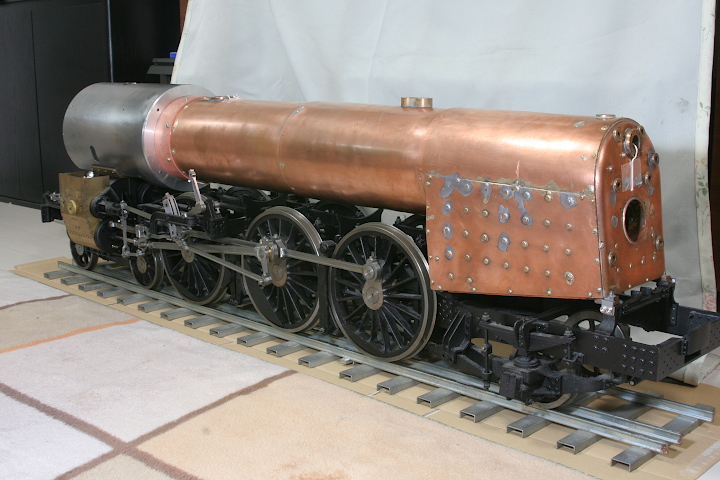
The back shoes of the boiler mount on the expansion bracket. The shoes are held by 'L' shape covers so as not to float. There are clearances between the shoes and the covers, so that the boiler could expand freely. Incidentally, most of the boiler weight is not put on the back expansion bracket but on the front expansion bracket at the front of the firebox.
The loco gradually becomes visible like a loco. But it is still far from the completion.