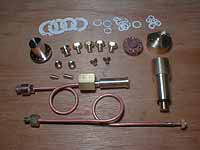
< Complete the Boiler >
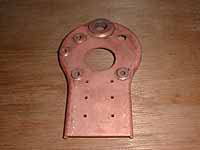
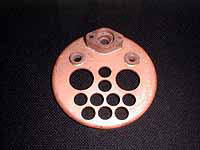
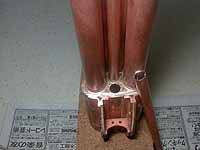
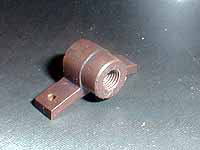
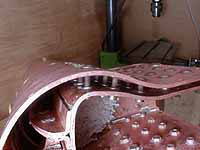
Finished backhead and smokebox tubeplate.
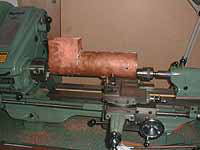
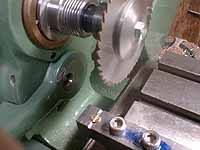
Lining up of front and back regulator bushes
in the lathe.
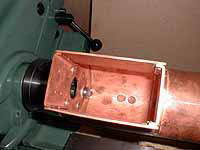
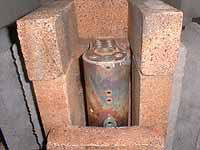
A careless annealing operation resulted in
melt of the top tube! The tube was removed
for replacement.
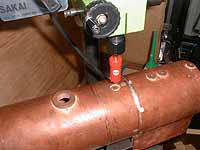

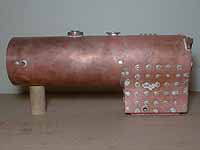
A little modification of the boiler.
1) Adding a bush for waterfeed.
2) Changing the position of check valve from
backhead to both sides of barrel front.
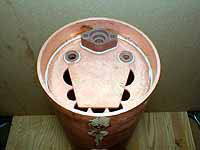
Again the tubeplate was protected before
soldering. Generally smokebox tubeplate is
soldered to barrel with tubes in later stage.
But I prefer soldering only the tubeplate
here.
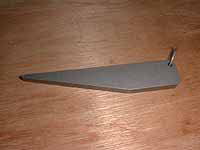
The foundation ring was modified to eliminate
the opens - the red area in the section

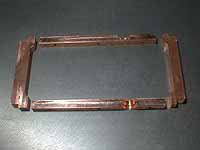
Machined foundation ring. Note the half-round
recess in both sides to clear the blowdown
bushes.
Watergauge bush is partly machined from a
gunmetal casting.
I made sixty counterhead screws for "stay"
from 4mm phosphoric bronze wire. The screw
wasn't slotted only at the top of the head
but also at the side of thread to form a
channel for silver solder.
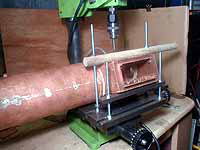
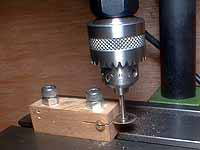
The boiler was fixed onto the table to drill
and tap for stays. The length of the clamping
screws were calculated in CAD to ensure accurate
angle.
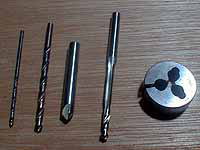
Tools for the stays. From left, small drill
to catch the punch mark, drill for hole before
tapping, countersink against the counterhead
stay, "Drill tap" as alteration
of "Lead tap" to thread both outer
and inner wrappers, die for threading stays.
A long arbor is necessary to drill the throat
plate because the holes are very closed to
the barrel.
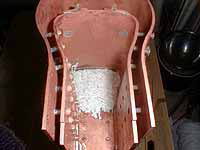
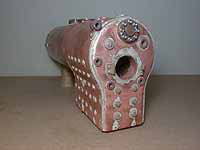
The stays are home and ready for soldering.
Note the tubes are packed with asbestos yarn
to prevent overheat. This kind of asbestos
is still available in Japan, however I don't
recommend it for its harmfulness. Graphite
yarn is a good substitute.
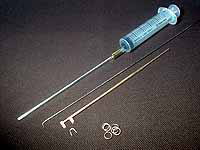
Jigs for soldering. From left, syringe to
drop flux, scratch rod to adjust the position of the solder,
cramping tool to hold the "U" shape
solder.
Procedure is as follows.1) The stay with
flux is screwed home and brass nut with flux
is screwed from inside. 2) Flux is dropped
at the foot of the stay between inner and
outer wrappers by the syringe. 3) The "U"
shape solder is hooked onto the foot. 4)
Solder ring is put on the head of the stay.
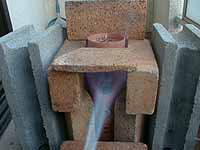
5) Heat up whole job with propane blowpipe
to melt both inner and outer solder.
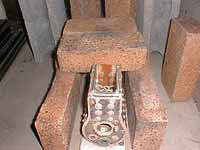
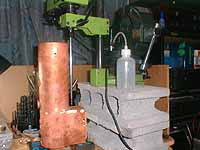
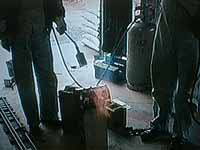
So as to solder the backhead and the foundation
ring at a time, I changed setup from the
left to the right in 20 seconds.
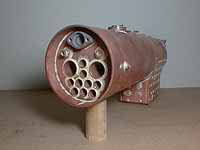
Final soldering operation is for the front
of the tubes. The tool is "Drift"
to extend the front end of the tubes to fit
to the hole.
The Battle of Boiler exactly started here.
I spent one month to settle leakage of the
boiler. After plenty of sleepless night,
I decided I will never build a boiler again!
But the decision was forgotten in three month....
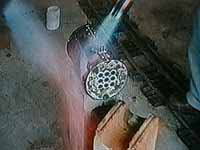
Silver soldering operation in a Livesteam
society: They made great help to fix the
leakage of my boiler.
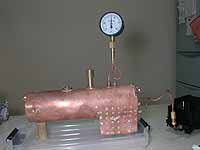
Hydraulic pressure test and the plugs for
it.
Boilermaking with Tears?
| TOP | BACK | NEXT |