< Coupling Rods >
Guidebook says that the most important thing
for the coupling rod is bush spacing. It
should precisely coincide with the wheelbase.
But there is no need to worry because the
error can be recovered with an eccentric
bush. Machining the rods is rather difficult
than the spacing. Plenty of metal has to
be removed. Its complicated shape requires
a lot of works. And if you make a mistake
on the way, you have to restart from the
blank! It is worth tackling very carefully.

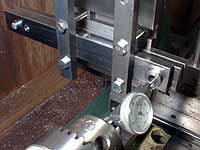
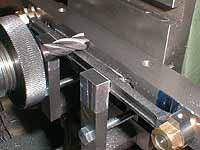
Using a flat bar with an eccentric bush as
a gauge, the actual wheelbase is taken from
the crankpins at the front dead center. Then
the gauge is clamped together with a rod
blank and centered in the lathe for drilling
and reaming.
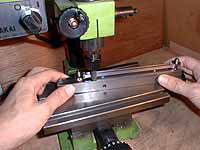
Jig for machining the rods.
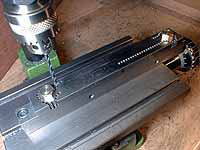
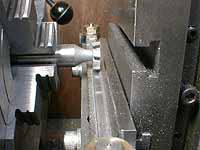
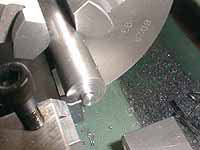
Cutting out a rough outline from the blank
(bright mild steel bar).
Bottom edge of the blank is left as a reinforcement.
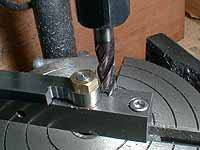
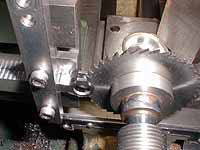
Both round heads of the rod are milled on
a rotary table.
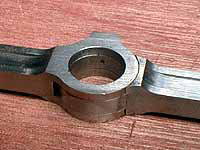
The tongue of knuckle joint is milled.
On the rotary table, round wall can be formed.
The slot of knuckle joint is cut by a metal
saw.
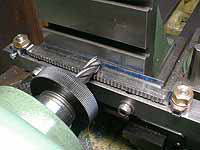
The side constriction is milled.
The bottom edge is left to the full width.
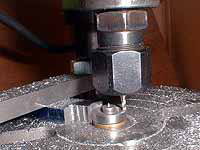
The flute is cut by a Woodruf cutter.

The bottom edge is cut off by a metal saw.
Top and bottom line are finished with endmill.
Note support bars and packing in the middle
of the rod to eliminate chattering.
Burnishing every surface.
I adopted:
1) emery cloth wrapped around the spindle,
for round surfaces.
2) oil stone, for flat surfaces.
3) a chip of flat file shaped to correct
width, for the flutes.
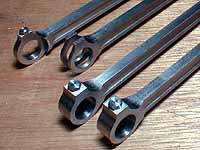
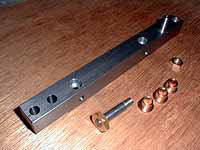
Finished rods with dummy bolts.

The bushes are made of phosphor bronze. For
press fitting with a vise, the O.D. of the
bushes is left 0.01-0.02mm larger than the
holes of the rod. The I.D. of the 2nd bush
is reamed, while the 1st and 3rd bushes are
left 0.05mm oversize for play. Finally I
made two eccentric bushes to cancel spacing
error.
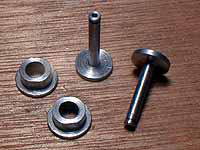
Pins for 1st crankpins and nuts for 3rd crankpins.
The pin goes through the crankpin and fixed
at the back of the wheel by a snap-ring .
Snap-ring is more reliable than the screw.
To cut a groove for snap-ring, I made 0.5mm
parting tool from a hacksaw blade.
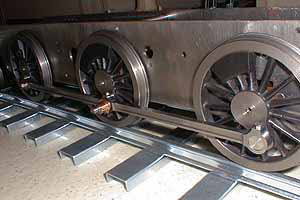
Testing on a curved track.
| TOP | BACK | NEXT |