< Dummy Firebox >
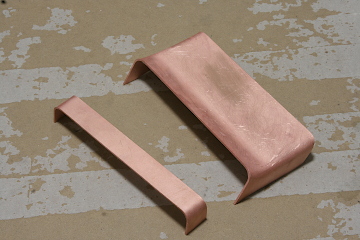
The boiler will be covered with the cleadings except for the bottom part of the firebox. The model boiler size is smaller than the full-scale C53 boiler's scaled-down size. Therefore a dummy firebox that covers the real firebox is necessary. The structure is the same as the real firebox, so it will be made from flanged copper plates.
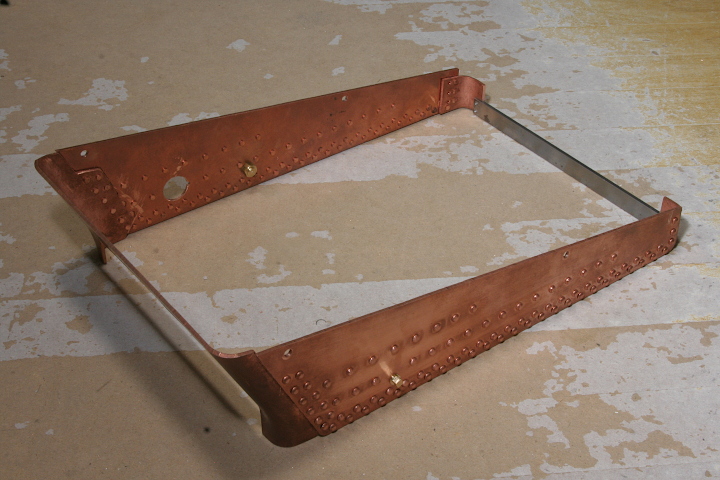
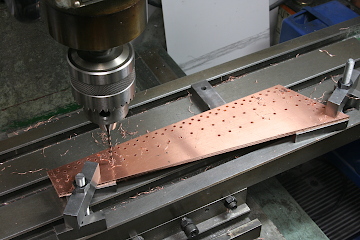
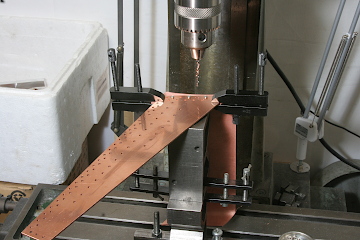
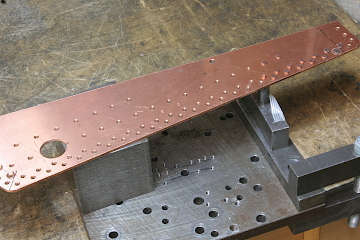
The dummy firebox doesn't need the strength of the real boiler, so I adopted 2 mm thick copper plates as the material. Cut out a throat plate, two side plates, and a back plate. The rivets will be applied only for the size plates. 2.6 mm dia. holes are drilled for 2.5 mm dia. copper rivets.

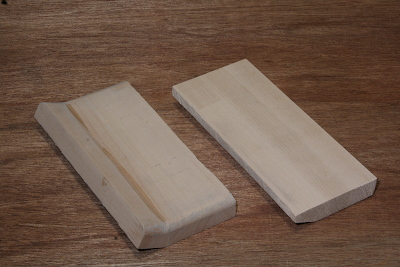
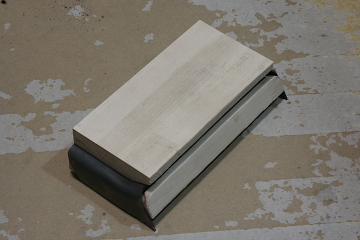
For the flanging of the throat plate, I prepared two formers of hard maple wood. The back plate will be flanged with the formers, too.
Anneal the plates with a propane torch and flange with a plastic hammer. It needs two times annealing for the throat plate and one-time annealing for the back plate.
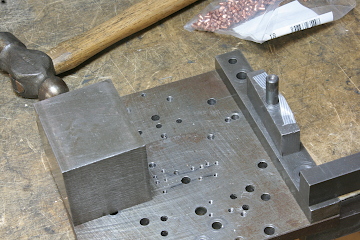
Drill holes for assembling four plates. The firebox will be assembled with rivets finally, but temporarily assembled with screws and nuts.
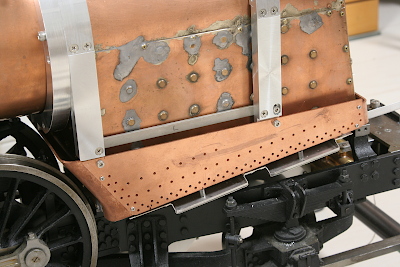
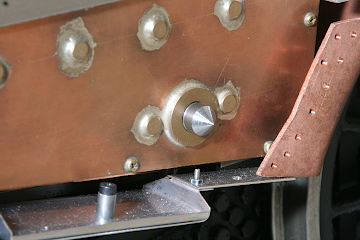
The dummy firebox is temporarily set under the boiler and mounted on the chassis. The dummy firebox is fixed on the aluminum columns with bolts.
There is the blow-down valve bush on the right side of the firebox. In order to transcribe the location of the bush to the dummy firebox, I prepared a center scriber. Screw the scriber into the bush, set the dummy firebox on it, and hit the firebox gently with a hammer. Then, the center is marked on the inside face of the firebox.
According to the mark, open a hole for the blow-down valve with a hole saw.
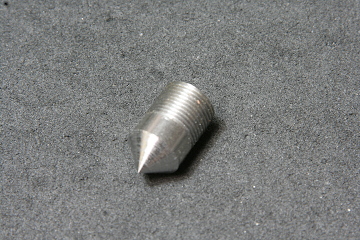
The gap between the boiler bush and the dummy firebox is filled with a heightening bush.
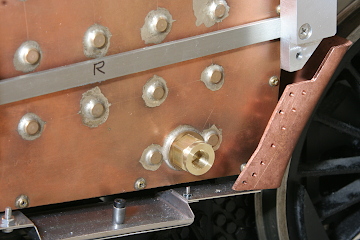
After fitting the dummy firebox, the heightening bush surface becomes flush with the firebox. The blow-down valve will be set on the heightening bush.
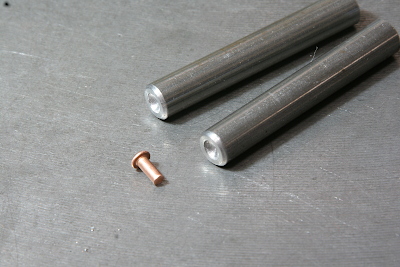
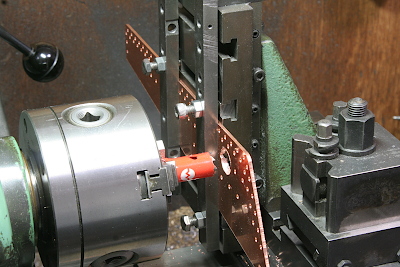
As the copper rivets are employed for decoration, the rivet head should not be smashed with hammering. So I made a dolly that has a round concave for the rivet head.
In order to cut the round concave on the dolly, I prepared a boring tool that is made of siver steel. Before use, it is hardened and tempered.
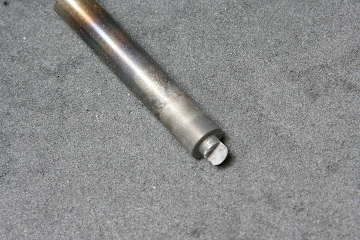

Stand the dolly on the desk, set a rivet and insert its head in the dolly, and smash the rivet tip with a hammer. The left side photo shows the tool setup. The right side photo shows under operation.
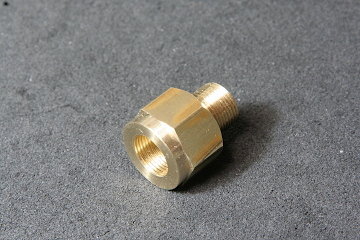
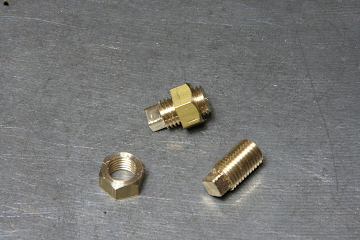
There are washout plugs on the prototype firebox. I made dummy washout plugs from a brass rod. Screw the plugs into the dummy firebox and secure them with lock nuts on the back sides.
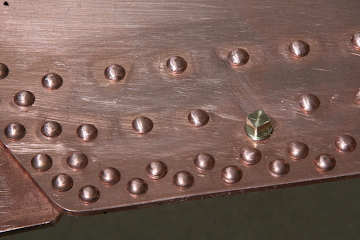
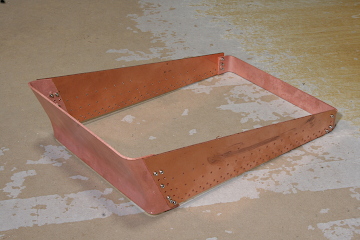
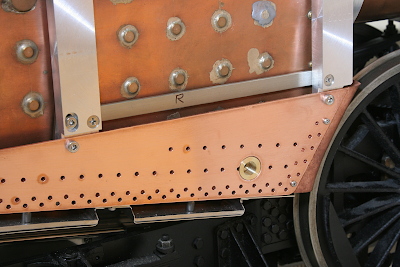
The throat plate, the back plate, and the two side plates are permanently assembled with copper rivets. Note the center lower part of the throat plate is cut in order to dodge the real throat plate. Also, the center part of the back plate is replaced with a thick steel flat bar in order to fill the gap between the real back plate and the dummy back plate. Here the dummy firebox is completed.