< Painting Smokebox and Boiler >
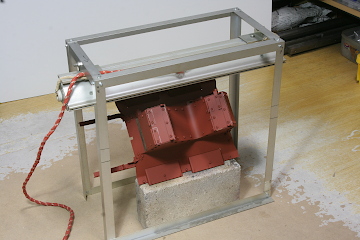
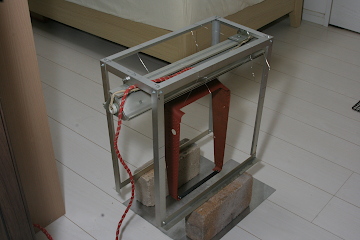
As for the upcoming assembly sequence, there are numerous parts to be mounted on the boiler cleadings, such as pipework. Each time a new part is added, holes must be drilled in the cleadings. If I continued in this way, the boiler itself would never be mounted on the chassis. Therefore, I decided first to complete the design of all the fittings attached to the boiler, drill all the mounting holes at once, paint both the boiler and the smokebox, and then install them permanently. At this stage I also painted the dummy firebox and ashpan, since these cannot be removed once the boiler is in place.
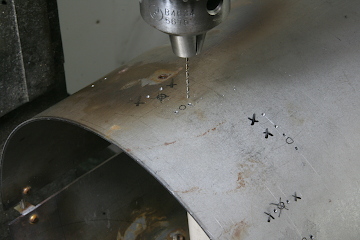
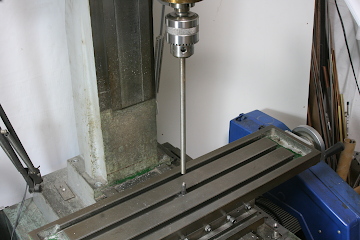
All the brackets for securing the pipes were designed, and screw holes for attaching them were drilled and tapped in the boiler cleadings. The hole positions were marked out as follows: in the longitudinal direction, the distances from the front or rear edges of the cleadings were scribed with a height gauge; in the circumferential direction, chord lengths were taken with a divider from the nearest quarter-circle line and scribed accordingly.
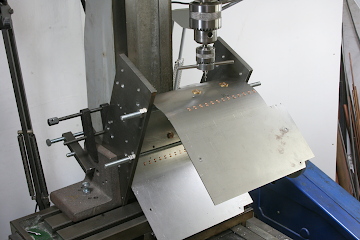
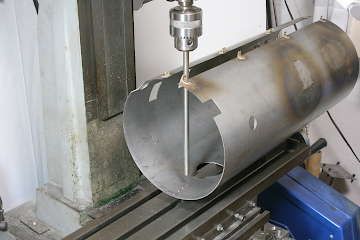
On the prototype, rivet lines run along the ridges of the boiler cleadings. To reproduce this, I embedded copper rivets. A dolly was fixed on the milling machine table to support the rivet heads, and a round bar held in the chuck was used to press and flatten the copper rivets.
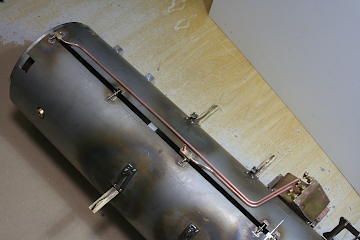
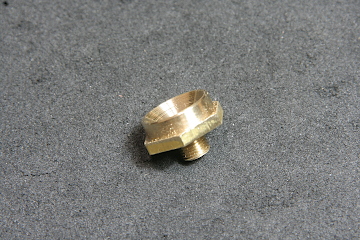
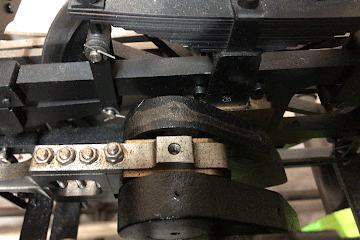
The sandbox mounted on the running board is utilized here as an oil reservoir for gravity feed. Each side has three sand delivery valves, but on the left side the three valves are used for lubricating the front and rear of the inner main rod, as well as the brake cylinder. Instead of a continuous drip feed during running, the full quantity of oil is intended to be discharged before operation. For the front and rear of the inner main rod, oil is delivered by pinpoint dripping through oiling blocks, as shown in the photos. These were designed to feed oil at the optimum points when the official photographic position is set—that is, when the crankpin on the left side is directly below the driving axle.
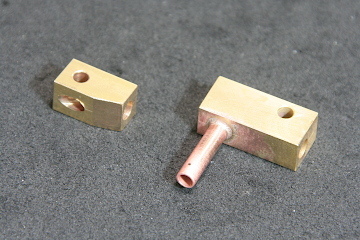
At the rear end of the inner main rod, a threaded bush allows a funnel, as shown in the photo, to be attached for oiling.
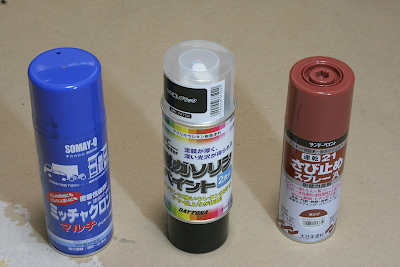
The paint used was again semi-gloss black polyurethane spray. For materials other than steel plate, a primer coat of adhesion promoter was applied. The dummy firebox and ashpan were painted with reddish-brown anti-rust spray. Surface preparation followed the usual routine: rust and dirt removed with sandpaper, cleaned with acetone, and finally blown with compressed air just before painting.
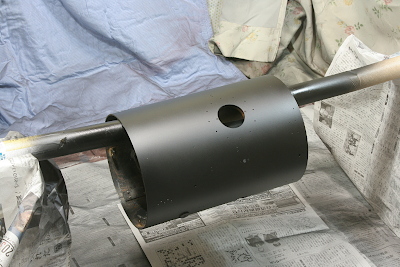
Painting began with the smokebox and boiler cleadings. These were mounted on a round bar and rotated about 60 degrees at a time for full coverage. Three coats were applied.
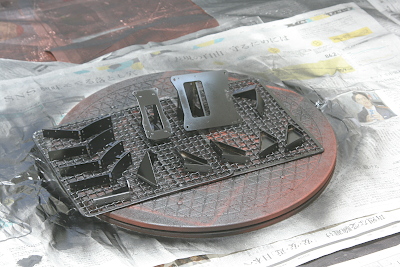
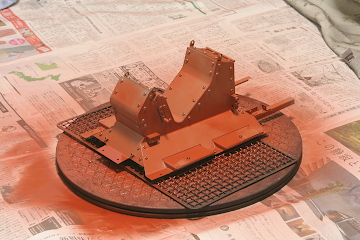
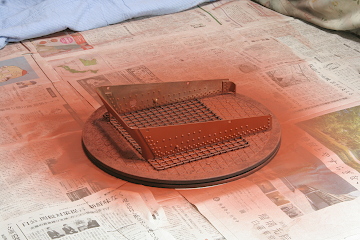
The brackets to be attached to the boiler cleadings were also painted. They were arranged on a wire mesh, and sprayed from four directions while turning them on a turntable. First the undersides were given two coats and dried, then the topsides were given two coats.
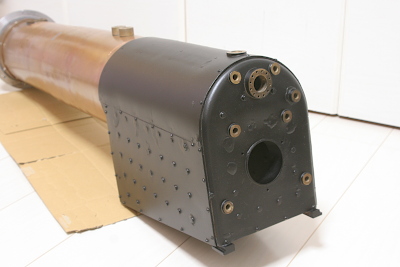
On the boiler itself, only the firebox section was painted, with the barrel masked off. The bushes on the backhead were covered with circular paper seals for masking.

Handrail stanchions and screw heads were painted by sticking them into a cardboard.
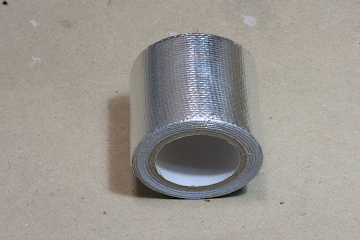
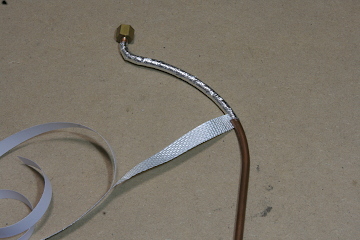
Among the copper pipes, the exposed sections of the whistle pipe and brake pipe were wrapped in aluminum heat-resistant tape to prevent cooling. Since the tape has adhesive on one side, it adheres simply by wrapping. Over this, a coat of adhesion promoter was applied, followed by black paint.
The ashpan and dummy firebox were primed with adhesion promoter and then painted brown with rust-preventive spray.
Because rust-preventive spray does not adhere as strongly as polyurethane paint, the coating was baked on using a far-infrared heater. This heater was originally prepared for baking enamel finishes when I built the William.