< Installing Boiler >
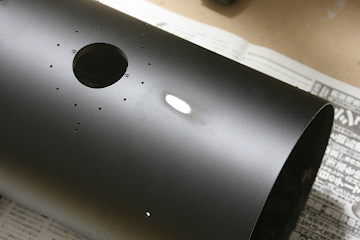
I began this month by continuing the painting work from last time. Although I handled the freshly painted parts carefully, a small scratch appeared on the smokebox coating while it was drying (left). Before repairing it, I sanded the area around the scratch with #1000 sandpaper to level the surface (right).

Just like before, I finished it with three coats of paint, and the scratch mark completely disappeared.
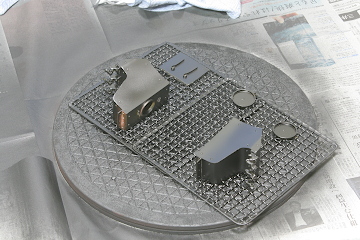
Since I had to open (and mix) a new can of urethane spray for the repair, I decided to use it up by painting a few extra parts — the sandboxes and the heat exchanger components.
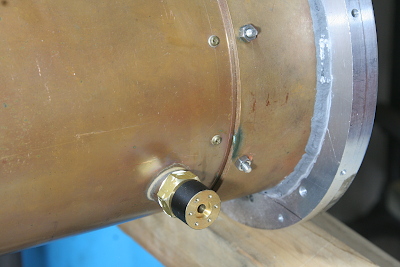
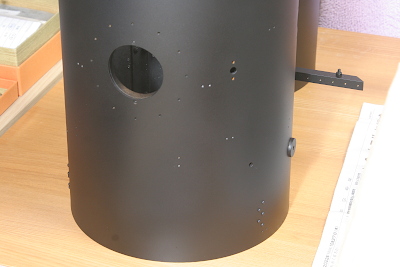
A flange for the boiler check valve was installed on the right front side of the barrel. Because the side face of the flange will remain exposed outside the boiler casing, I painted it black.
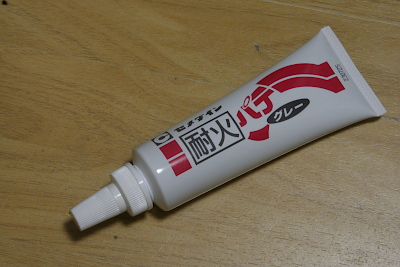
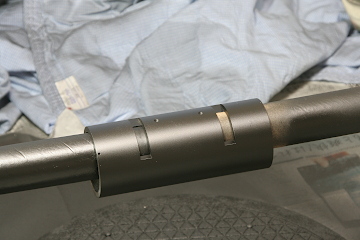
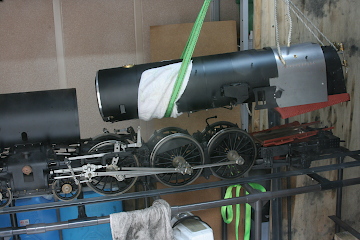
The gaps around the smokebox were sealed using heat-resistant putty. In the photo above, the gray filler visible between the aluminum ring and the extended barrel is this putty. I also used it to fill the step gap at the lower rear of the smokebox.
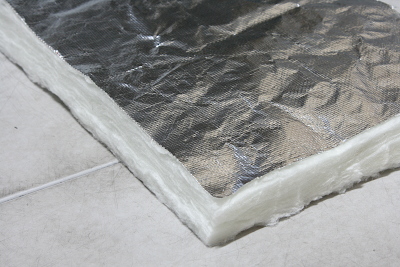
Between the boiler and the boiler cleadings, I packed lagging material. Since the gap was fairly large, I wrapped the barrel with 25 mm-thick glass wool — industrial pipe insulation that should provide good heat retention.
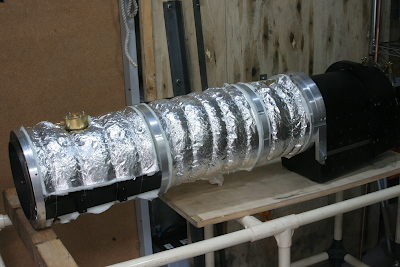
The lagging was wrapped between the aluminum rings and tied securely with stainless steel wire. The firebox section will require modification to the cleading later, so I’ll leave the insulation there for a future step.
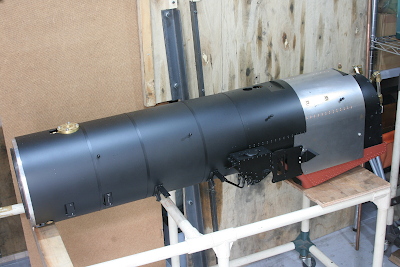
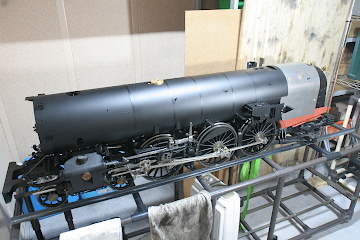
A dummy firebox was attached beneath the actual firebox, and the cleadings were slid on from the front and tightened in place with boiler bands. At this point, the regulator valve and water gauge were already installed.
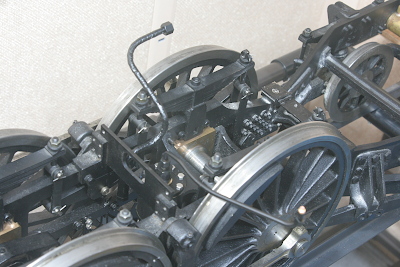
Before setting the boiler onto the main frame, I attached the piping for the brake cylinder. The thick pipe wrapped in insulation tape carries steam, while the thinner one is the lubrication line.
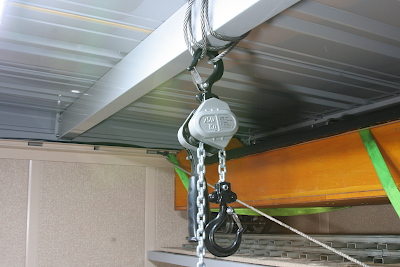
The assembled boiler weighs around 40 kg — too heavy to lift by hand — so I used a lever hoist to install it. The workshop ceiling boards were removed so that I could loop a wire over a roof beam and hang the hoist. The beam isn’t particularly strong, but it’s more than sufficient to handle the weight of the boiler.
After mounting the smokebox and ashpan onto the chassis, I lifted the boiler into place. To protect the paint, I wrapped towels around the lifting ropes. The rear end of the boiler rests on an expansion support, while the front end fits into the smokebox and is bolted from the inside, with a boiler band covering the joint.
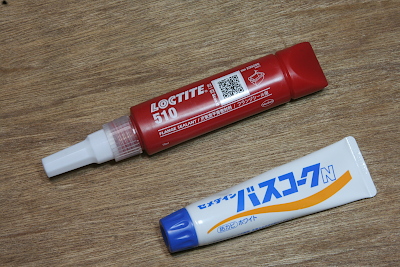
For sealing valves and flanges this time, I used an RTV silicone sealant instead of Loctite 510. While Loctite provides excellent sealing, it bonds too strongly and can damage parts during disassembly. RTV silicon sealant, on the other hand, has a shorter shelf life, so it’s best used fresh and for batch work.
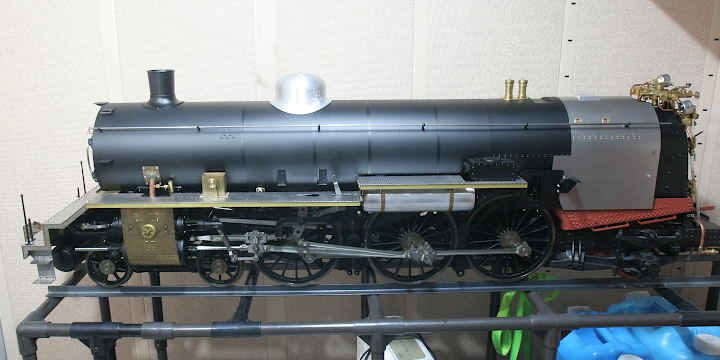
At this stage, I temporarily installed all the parts made so far, including those still unpainted. It would be technically possible to conduct a test run in this condition, but since the preparation would be quite demanding, I’ve decided to postpone that for now.